How to Create MailChimp Account in 2023
In this tutorial, you’ll learn how to create a MailChimp account for free. MailChimp is the most popular email marketing software.
What is Email Marketing? Simply put, email marketing is a way to promote your business or brand through emails. By using any online email marketing tool, you can gather emails of your clients or customers. And then you can send them daily and weekly updates about your business or brand.
Not only this, there is much more to know about email marketing. But this tutorial is focused on creating a mailchimp account.
Why choose MailChimp? MailChimp is the best and cheapest way to start email marketing. With a free MailChimp account, you can add 2000 contacts and send them 10,000 emails. It is more than enough for a beginner. But if you’re an expert, then you can upgrade your account as well.
Also through mailchimp you can add email newsletters to your WordPress website to get subscribers.
However, let’s go ahead to the main part:

How to Create a MailChimp Account (Free)
1- First of all, you need to go to the MailChimp website. To do that click on this link to Create MailChimp Account.
The homepage will look something like this:
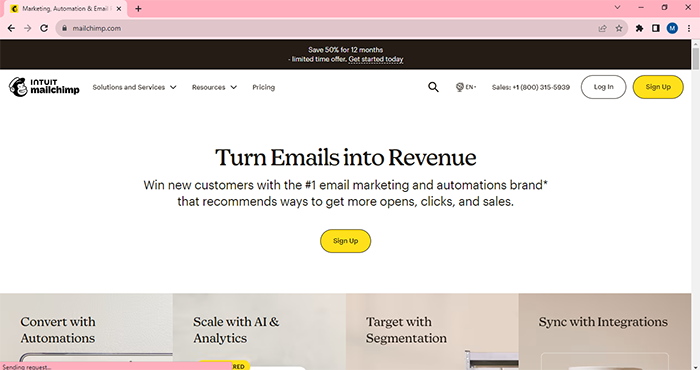
2- Click the Sign Up button on the top right corner. As shown below in the image.

After your click, this page will appear as below:
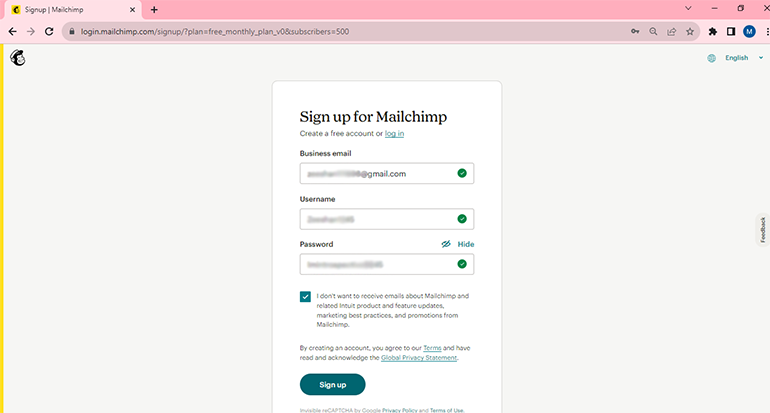
3- Now here as you can see above in the image, enter your email address (your own email), a username (this will be used for login purposes), and a password. After entering your details, click on the sign-up button.
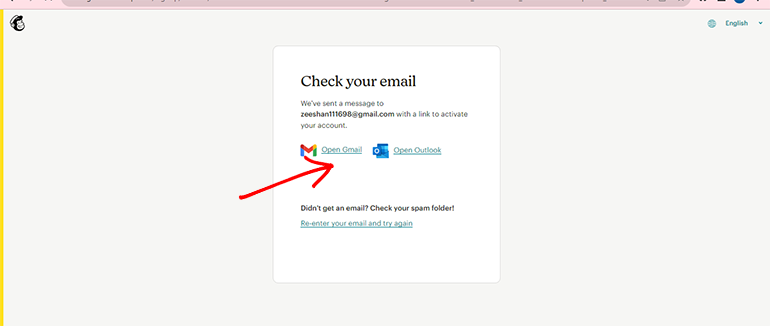
4- After that, the email confirmation page will appear that will look like this below. Just click on open gmail to go to your gmail inbox. There you will find an email with verification button.
5- When you will open up your email inbox and check there. There will be a confirmation email with the title Activate your MailChimp account. As shown in the image below:
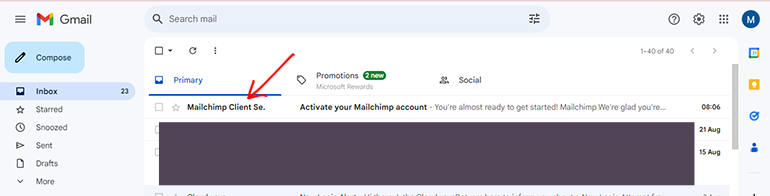
Open that email and click on the Activate Account button.
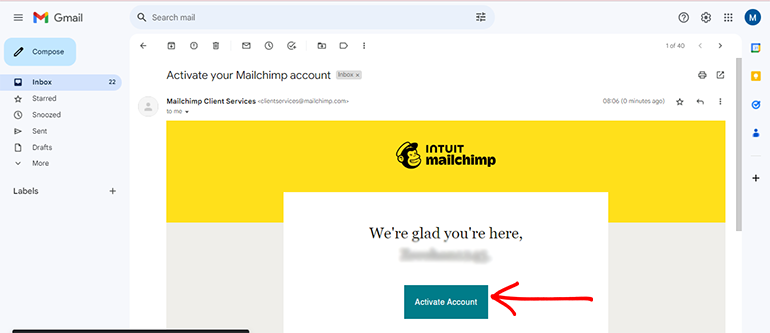
A new tab will open in your browser.
Note: If you didn’t receive any MailChimp email then refresh your email inbox page, or maybe you entered the wrong email address.
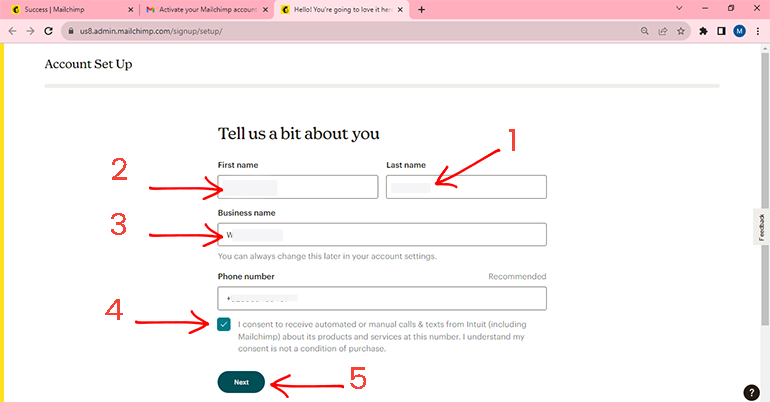
6. Enter your Personal Information to Complete Sign up
- First Name and Last Name
- Business Name (This will be the name of your business or brand, or website. MailChimp will use this name when you will send emails to your customers, clients or users.)
- Phone Number (It is recommended due to security purposes.).
Add these details and click on “Next” button.
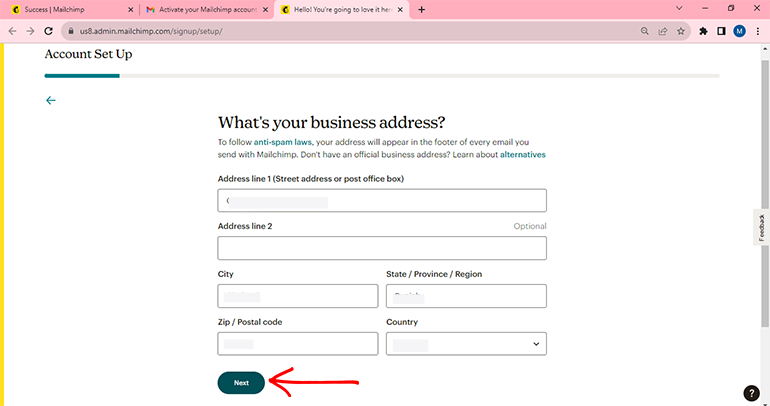
Now, Enter your Business or Company’s Address details. And click continue. Like in the image below:
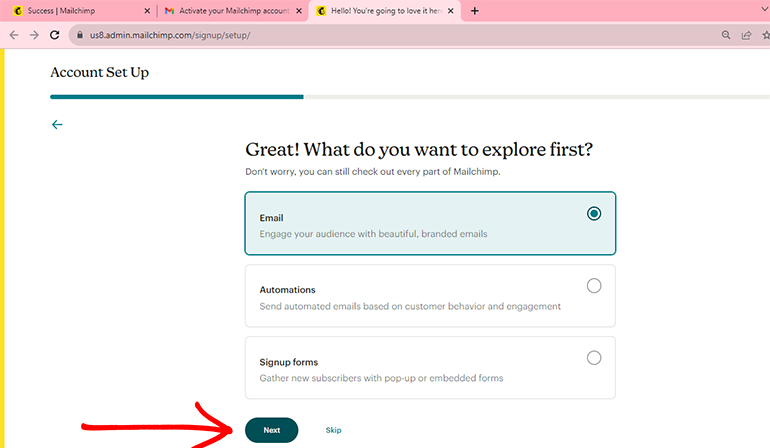
After that click, the new page will appear, that will show you options to select the purpose to use the mailchimp. That’s optional, you can also skip this page.
Choose your goal.

Then, tell what you want to explore first, or skip also.
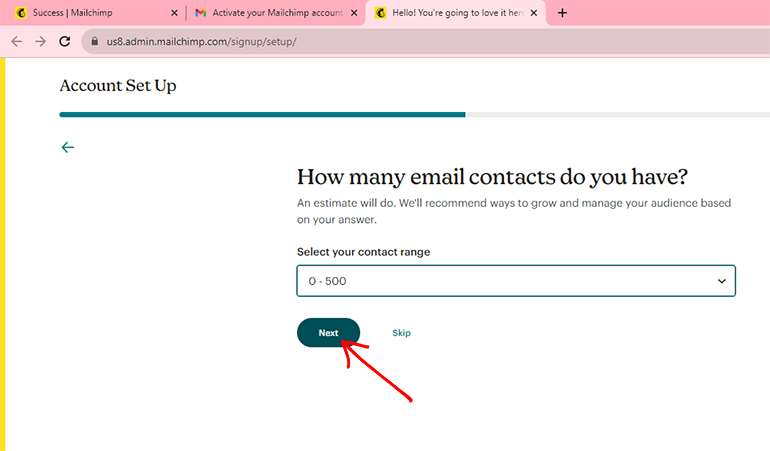
After that select how many email contacts you already have available, this is also optional you can skip this too if you want.
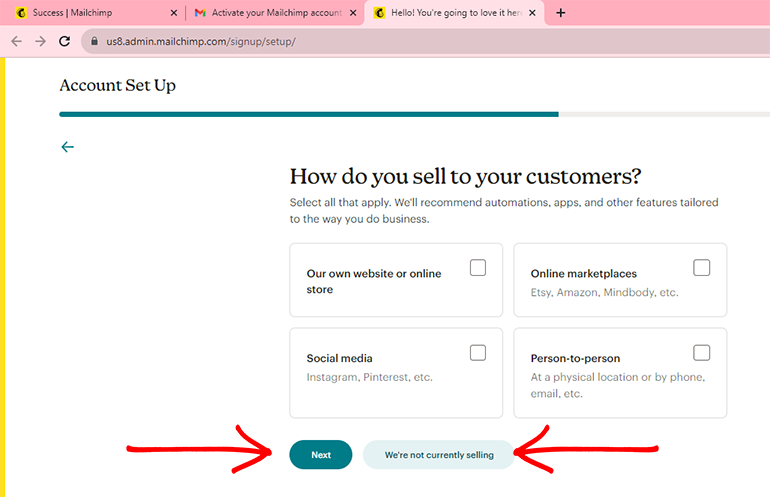
On the next page, you can skip also or tell how you sell to you customers, or you do not sell whatever.
Then, below is the last step, and mission accomplished.
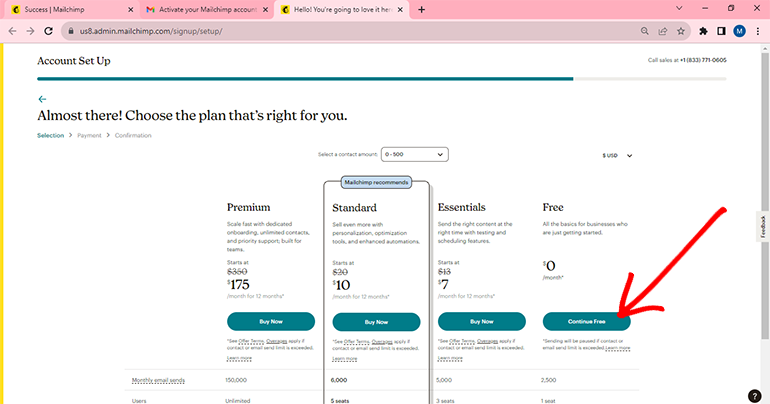
7. Choose Free Plan
When you create a mailchimp account you have the option to select the plan you want to use, such as free plan, standard or premium. On the next page you will see these options after the previous step you did.
So, see, and read carefully, and choose the free plan. MailChimp’s free plan will provide you with 2000 contacts and a 10,000 email sends limit that is more than enough for a beginner. Go ahead and click the free plan button. As you can see in the below image.
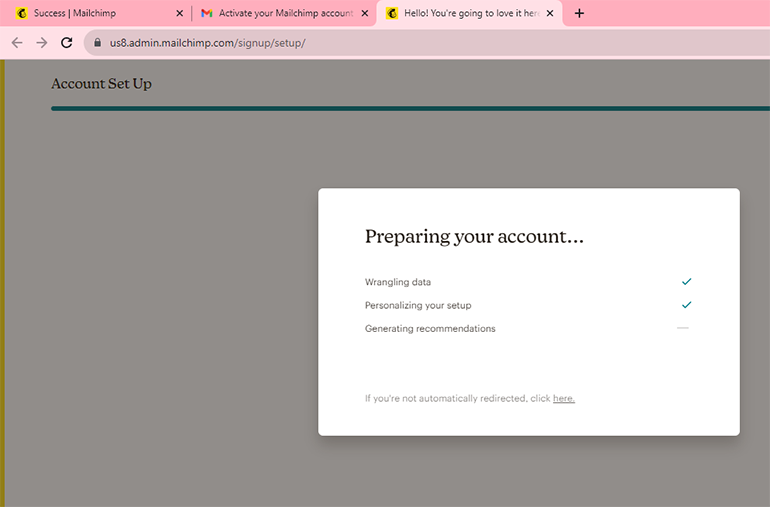
After that click, this page will appear as below, just wait a second.
And congratulations! you have successfully set up your free MailChimp account. Below here is your MailChimp Dashboard where you can perform your actions. Like creating email campaigns and sending emails, creating newsletters, signing up forms, creating your email lists, etc.
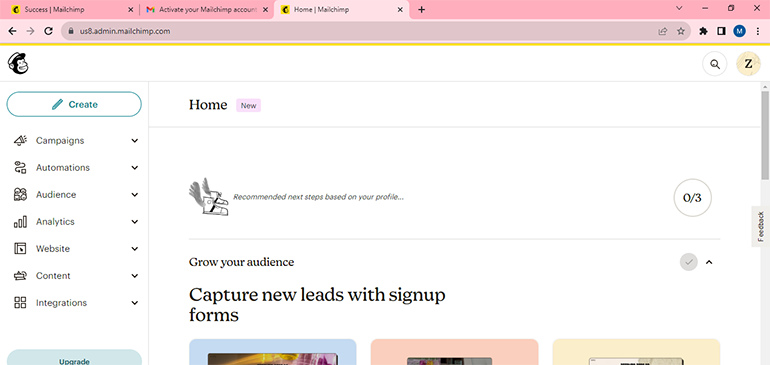
✅ Done!
If you’re using WordPress, then using MailChimp newsletters will be very beneficial to grow your email list of subscribers. To use MailChimp newsletters, check out our complete guide to adding MailChimp newsletters to the WordPress website.
That’s it. Now, you know how to create a MailChimp account.
I hope this guide will be really helpful for you.
Don’t forget to help others by sharing this Tutorial 👇!
Topic: How To